Few months ago I wrote this article on medium. But I thought I should also post it here. And so here it is.

Story
Lately Im having problem implementing linter on Sublime Text for my team that has support for React/JSX and ES6 syntax following some tutorials on the interweb… So I decided to share the steps here as others might have the same problem. I find this extremely helpful in our team as it provides uniform formats and style guides all throughout the code base.
If your new to Eslint please follow the link to their documentation. What this is all about is to outline the errors/issues within your JS/JSX code within Sublime Text Editor. So let’s dive in. :-)
First…
Make sure you have the new build of Sublime Text Editor installed. The latest build is 3126. I haven’t tried this on the previous versions.
Install eslint globally in you system.
npm install eslint -g
Note: If ever installing globally won’t work. Try installing locally on your project. In most cases global should just work but I find other’s not working and will work if installed locally.
Install the following eslint plugins globally.
I used Babel-Eslint for our parser. You can have a different parser for this purpose. It can be configure in y0ur eslint config file. Will get to that later.
babel-eslint -g
Install React Plugin for Eslint. We’re gonna be using this to define our React rules within eslint config.
eslint-plugin-react -g
I choose to install the above eslint plugins globally as I will be using it every time I start a new reactjs project. You can also choose to include it in your dev dependencies (It’s a good practice… :-). Just add …
eslint-plugin-react --save-dev
Install Sublime Packages
The best way to install Sublime Packages is through the Package Manager.
We need to install SublimeLinter and sublimelinter-contrib-eslint packages. So…
Open Sublime Package Manager. For MacOs
(Command + Shit + P)orCtrl + Shift + Pfor (Win, Linux)Type Install Package. Package Control: Install Package should be the first one. Select it!
It may take a few seconds as it is loading available packages. Once the packages are shown.
Type “linter”, and find “SublimeLinter” from the result. It should probably the 3rd item.
Repeat step 1 to 3 to install “sublimelinter-contrib-eslint”.
Configure SublimeLinter.
On your Sublime Text Editor select Tools menu
From the Tools dropdown you should see “SublimeLinter” menu. If you cannot see the menu, it means you have not installed it yet. Make sure you have installed the necessary sublime packages. Refer to the instructions above.
Go to “SublimeLinter” menu and select “Open User Settings”.
A new tab will open containing your current user settings. Remove all settings, then copy and paste the settings below:
You can configure sublime linter manually or you can copy and paste the settings below:
1 | { |
Again, you can do this manually. It only involves few clicks.
On your Sublime Text Editor select Tools menu
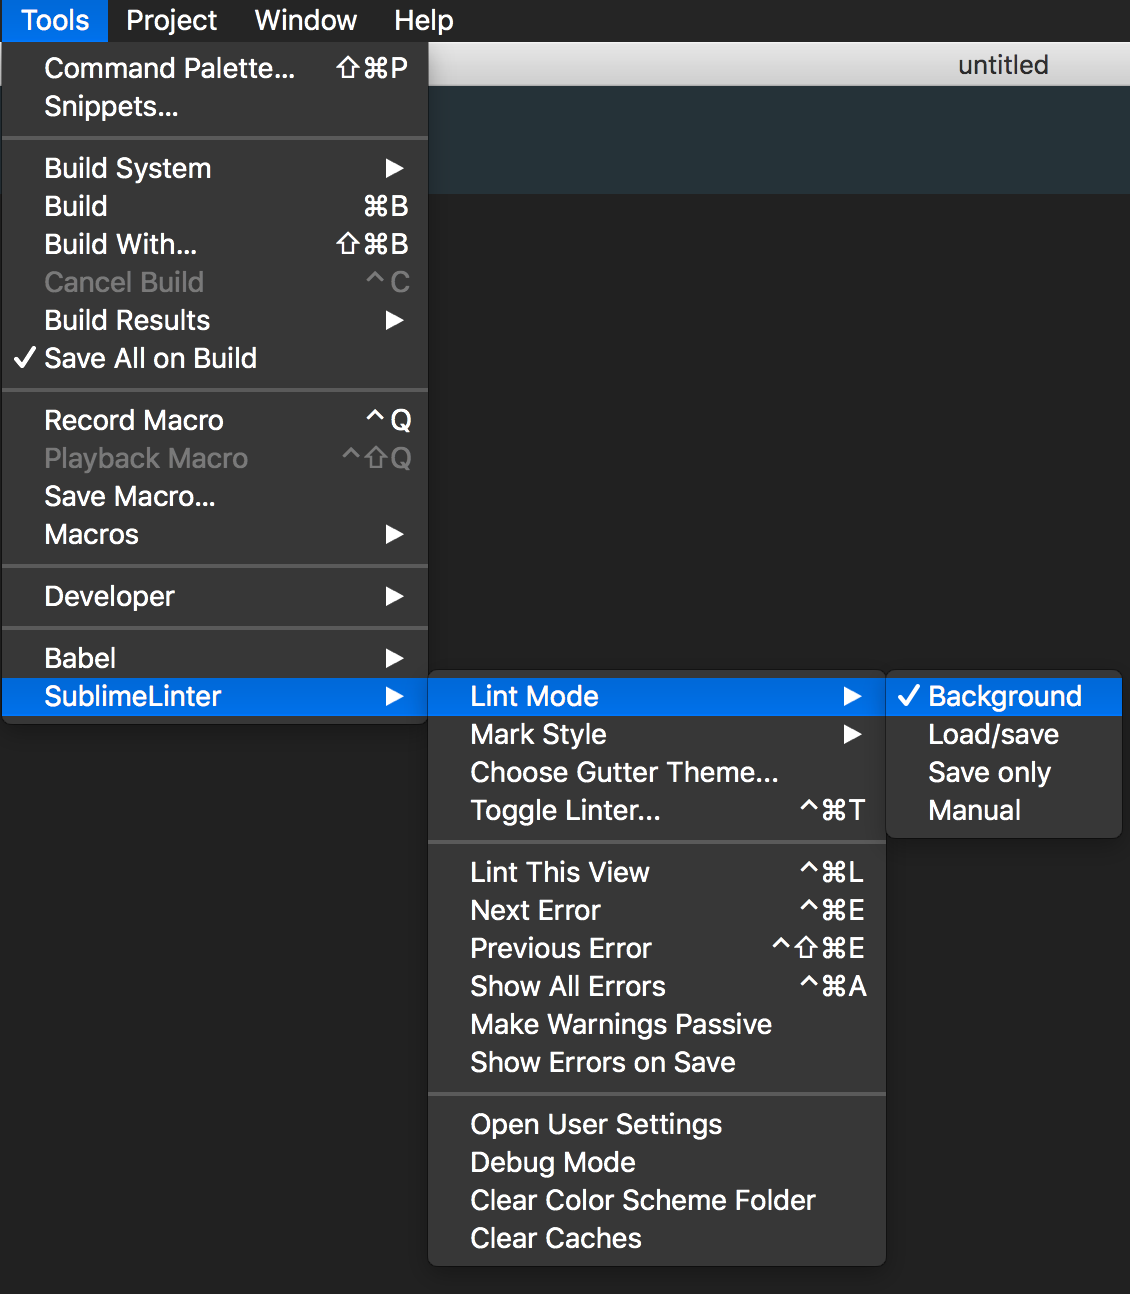
See screenshot below: Select “Background”. We don’t what the linter disturbing our focus so will run it on the background..:-)

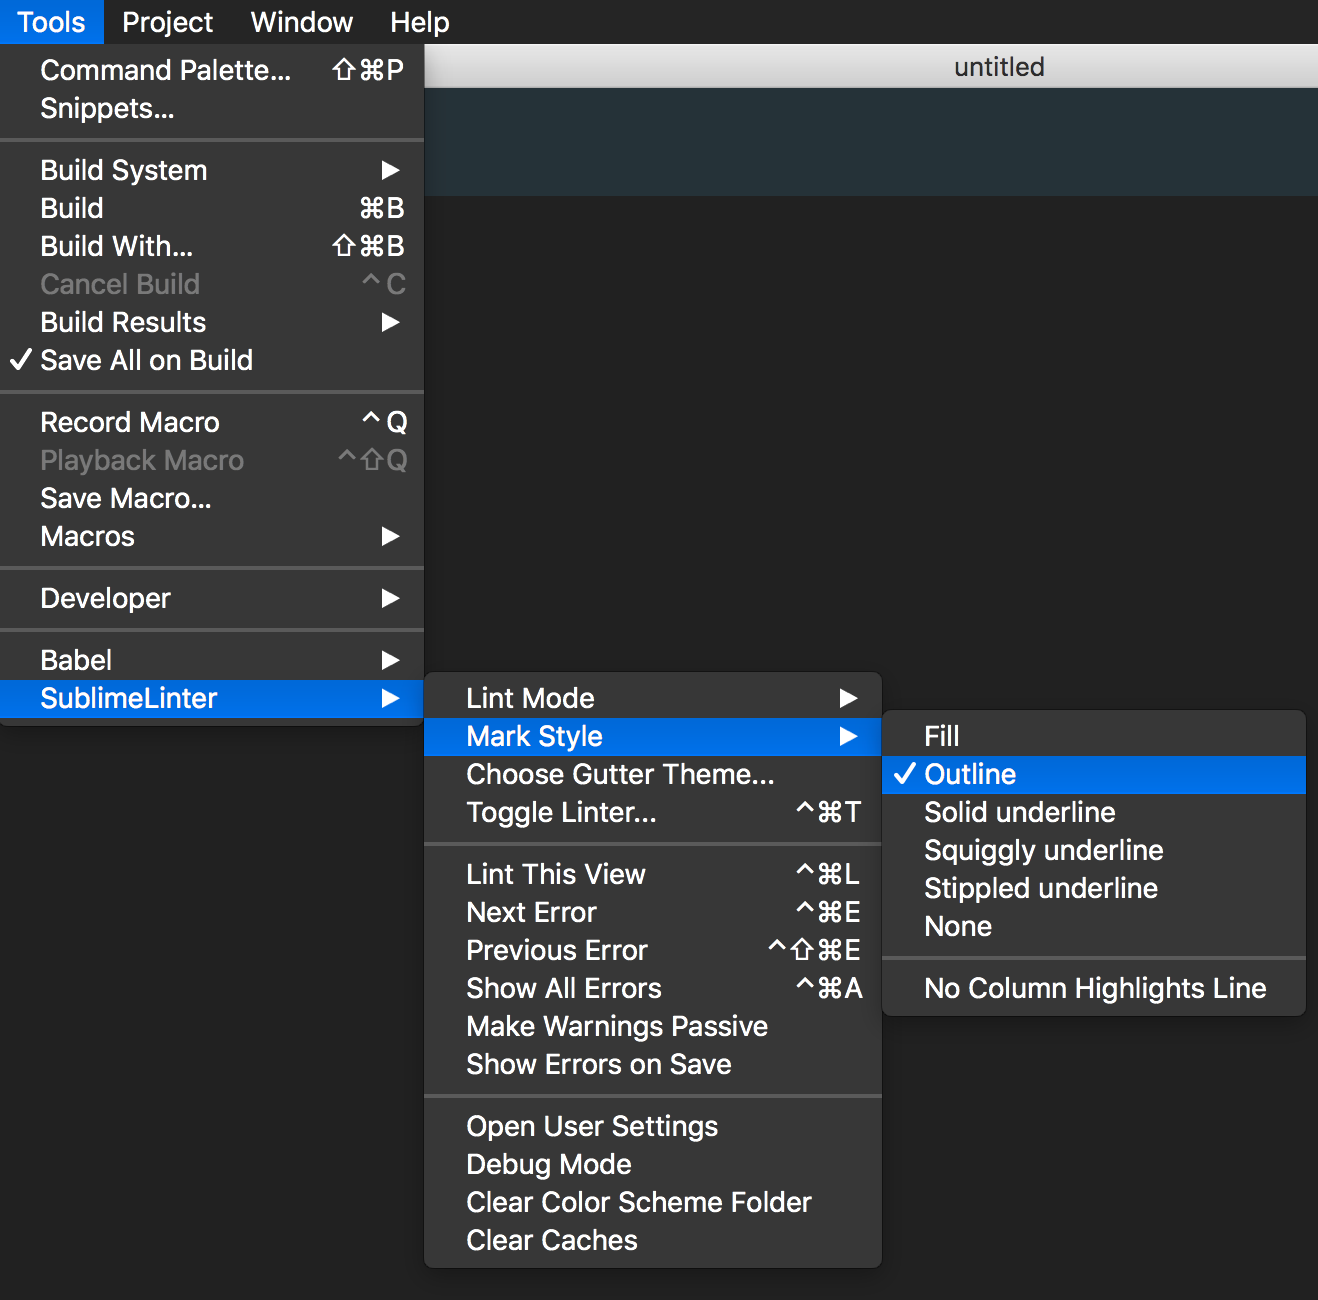
- Here, you can choose your Mark Style. I like having it as “Outline” for no apparent reason… :-)

Finally…
At the root of your ReactJs project. Add your Eslint configuration “.eslintrc”. You can refer to Eslint documentation to create your own eslint rules. But for the purpose of this writing, copy and paste the code below. It has all the configurations and rules for ReactJs and ES6 and some other good practices. It is based on “Airbnb” style guide, but I modified it to suit our needs. Feel free to use it.
1 | { |
Restart Sublime Text to apply the changes…
You should see something like this if all is working:
